Five Balance Drills You Can Do While the Kettle Boils
Quick Answer: Balance improves with frequency more than with duration, so five short daily doses beat one long weekly session. Each of these five drills fits inside the ninety seconds to three minutes a kettle takes, needs no equipment, and progresses by removing support rather than by adding time. Keep a hand near the counter throughout - the point of the counter is to let you attempt a harder version, not to make an easy one safer.
The kettle takes about two and a half minutes. You do it three or four times a day. That is ten minutes of balance training you are currently spending looking at your phone.

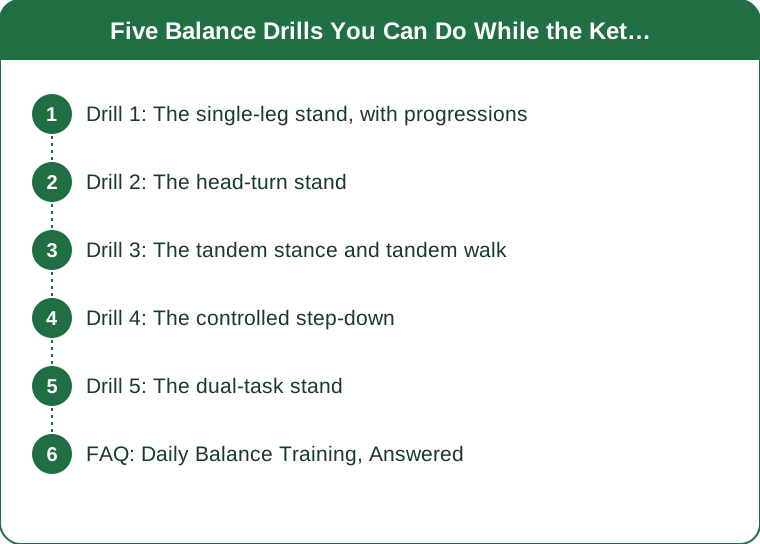
Drill 1: The single-leg stand, with progressions
The base version: stand on one leg, hand hovering near the counter, thirty seconds per side. Keep the standing knee soft rather than locked, and let the foot make small corrections rather than trying to freeze it - the corrections are the training.
Progression one: remove the hand. Hovering rather than touching, then hovering further away, then arms folded. Most people find a genuine difference between a hand touching lightly and a hand two inches away, which tells you how much support you were actually taking.
Progression two: close your eyes. This is a large jump, because vision contributes substantially to standing balance and removing it forces the vestibular and proprioceptive systems to take over. Expect the time to drop dramatically and keep the counter within reach.
Progression three: change the surface. A folded towel or a cushion under the standing foot introduces instability that the ankle must manage continuously. Combine with eyes closed only when the eyes-open version on the cushion is comfortable.
A useful benchmark rather than a target: the ability to stand on one leg for around ten seconds is used in research as a marker associated with health outcomes in middle age and beyond. If you cannot reach ten seconds on either side, that is a reason to train it, not a reason to worry.
Drill 2: The head-turn stand
The version: stand on one leg and slowly turn your head left and right, then up and down, for thirty seconds per side. Support hand available throughout, because this is considerably harder than it sounds.
Why it matters more than static balance: real-world balance failures rarely happen while standing still and looking forward. They happen while turning to look at something, reaching, or being spoken to. Head movement challenges the vestibular system directly, which static standing does not.
Move the head slowly and deliberately. Fast head movement provokes dizziness in some people and teaches nothing extra. Roughly two seconds per direction is the right pace.
If it makes you dizzy, that is information rather than failure. Mild transient unsteadiness is normal at first. Persistent dizziness, spinning, or nausea is not, and warrants a conversation with your doctor rather than more practice - this is general information, not medical advice.
Progression: add the cushion, or combine the head turns with holding something in one hand, which shifts the load asymmetrically and is closer to carrying a bag while looking for traffic.
Drill 3: The tandem stance and tandem walk
The version: place one foot directly in front of the other, heel touching toe, and hold for thirty seconds. Then swap the front foot. Narrowing the base of support is the simplest way to increase difficulty without leaving the ground.
Why it earns a place: tandem stance is used in clinical balance assessments precisely because it isolates the lateral control that everyday walking rarely challenges. Most people are noticeably worse with their non-dominant foot forward, which is worth knowing.
The walking version: heel-to-toe steps along a line, ten steps forward and ten back. A tile grout line or the edge of a rug works as the line. Arms out for balance is fine and is what you would do in reality.
The progression that makes it useful: do it slowly. Fast tandem walking is easier because momentum carries you through the unstable moments. Slow is where the control actually gets trained, and slow is the version that transfers to stepping carefully on a wet path.
Add the head turns once the slow version is comfortable, which turns a simple drill into a genuinely demanding one in about a second.

Drill 4: The controlled step-down
The version: stand on the bottom step of a staircase, lower one foot slowly toward the floor over three seconds, touch lightly, and return without transferring weight. Five to eight per side, with a hand on the rail.
Why this is the most functional of the five: descending stairs is where balance and single-leg strength are tested together, and it is where a large proportion of real falls happen. Practising the controlled lowering directly trains the thing that fails.
The control is the whole exercise. If the foot drops the last few inches, the standing leg gave up before the bottom and that is the range that needs work. Reduce the height rather than accepting the drop - a single thick book is a legitimate starting height.
It doubles as single-leg strength work, which matters because balance failures are frequently strength failures in disguise. The ankle and hip cannot correct a sway if they lack the strength to produce the correction quickly.
Keep both hands available on the rail for the first week. This is the drill on the list with the highest consequence if it goes wrong, and there is no benefit to attempting it unsupported before the movement is reliable.
Drill 5: The dual-task stand
The version: single-leg stand while doing something mentally demanding - counting backwards from a hundred in sevens, naming as many cities beginning with a letter as you can, or holding a conversation. Thirty seconds per side.
Why the mental load matters: postural control uses attention, and that reliance increases with age. Balance that is stable when you concentrate on it can fail when your attention is elsewhere, which is exactly the circumstance in which people actually fall.
Expect to be visibly worse and let that be the point. People routinely lose half their single-leg time when a cognitive task is added, and closing that gap is a specific trainable skill rather than a curiosity.
The kettle version is convenient: stand on one leg while planning what you are doing next, or while talking to someone in the room. It is the most naturalistic dual task available and requires no counting.
Assembling the week: pick two drills per kettle, rotate across the day, and aim for roughly ten minutes total across the week. Frequency is what produces the adaptation here, and ninety seconds at a time, four times a day, gets there without ever scheduling a session.
FAQ: Daily Balance Training, Answered
How long should you stand on one leg each day?
Around ten minutes total per week, split into short daily doses, is a reasonable target. Thirty seconds per leg a few times a day gets you there and works better than a single long weekly session, because balance adapts to frequency more than to duration.
How long should a 60-year-old be able to stand on one leg?
Research has used ten seconds as a meaningful threshold in middle-aged and older adults, with shorter times associated with poorer health outcomes. It is a marker rather than a diagnosis - if you cannot reach it, it is a strong argument for training balance, and worth mentioning to your doctor.
Does closing your eyes make balance training better?
It makes it harder and trains a different system. Vision contributes a large share of standing balance, so removing it forces the vestibular and proprioceptive systems to work. Add it only once the eyes-open version is comfortable, and always with support within reach.
Can you improve balance at any age?
Yes. Balance training produces measurable improvements across age groups, including in adults in their seventies and eighties, and it is one of the most consistently supported interventions for reducing fall risk. The main requirement is regularity rather than intensity.
TL;DR:
- Balance adapts to frequency, so ninety seconds four times a day beats one long weekly session.
- Drill 1: single-leg stand, progressing by removing the hand, then closing the eyes, then adding a cushion.
- Drill 2: single-leg stand with slow head turns - real balance fails while you are looking at something, not while staring forward.
- Drill 3: tandem stance and slow heel-to-toe walking; slow is harder and more useful than fast.
- Drill 4: controlled step-downs from a stair, which train balance and single-leg strength together at the exact task where falls happen.
- Drill 5: add a mental task, because attention is part of postural control and that is when balance actually fails.
- Keep a hand near the counter throughout - support is what lets you attempt the harder version, not a sign of an easy one.
Ten minutes a week, and you never once have to schedule it.
Keep Reading
This article is for general informational purposes only and is not medical advice. Always consult a qualified health professional for guidance specific to you.