5 Balance Drills That Make Downhill Hiking Feel Less Terrifying
Quick Answer: Going downhill demands eccentric control - your muscles lengthening under load - plus rapid ankle corrections on uneven ground, and neither is trained by walking on flat pavement. The five drills below take about twelve minutes and target the exact qualities descending asks for: single-leg lowering, ankle reaction, foot placement under fatigue, and the trunk control that keeps you over your feet. Three sessions a week for four weeks is enough to feel a difference.
Everyone trains for the climb. Then the descent turns your legs to jelly and you spend the last mile picking your way down like the ground is made of glass.
The way down is a skill, and it is the one nobody practices.

Drill 1: The slow step-down
This is the single most transferable drill, because it trains the exact muscle action descending requires.
Stand on a step with one foot. Lower the other foot slowly toward the floor over a count of four, tap it lightly, and return. Ten reps each leg.
The key is the four-count. Going down a hill, your quad is contracting while lengthening, which is what makes descents so much more soreness-producing than climbs. A fast step-down uses momentum and trains almost nothing; a slow one trains the exact quality that gives out at mile six.
Start on a low step - fifteen centimetres is plenty - and only raise the height once the lowering is genuinely controlled and silent. A tap you can hear means gravity is doing the work.
Progress by adding a small backpack rather than a taller step. Descending with a loaded pack is a very different demand from descending empty, and it is worth training the way you actually hike.
Drill 2: Single-leg stance with a head turn
Standing on one leg is where most people start and stop. The upgrade is adding what actually happens on a trail: your head moves while your foot stays still.
Stand on one leg. Once steady, slowly turn your head left and right, then up and down. Thirty seconds each leg.
This matters because balance draws on three inputs - vision, the inner ear, and sensation from the foot and ankle. Turning your head disrupts two of them, which forces the foot and ankle to take over. On a descent you are constantly looking down at foot placement, then up at the trail ahead, and each of those transitions is a small balance challenge.
If it is easy, do it on a folded towel or a cushion. If it is hard, keep a fingertip on a wall and remove it as you improve. A fingertip is a legitimate progression, not a failure.
Drill 3: Lateral step-downs
Trails are not straight lines. The step that catches people out is the one where the foot lands slightly across the body on an angled rock.
Stand sideways on a step. Lower the outside foot toward the ground slowly, tap, return. Ten each side.
This loads the glute medius on the standing leg - the muscle that stops your pelvis dropping and your knee falling inward. Knee pain on descents is very often a hip control problem rather than a knee problem, and this drill addresses it directly.
Watch the standing knee. If it drifts inward toward your midline as you lower, that is exactly the pattern that gets loaded thousands of times over a long descent. Slow down until it tracks over the middle of your foot, then progress.
Drill 4: The uneven surface walk
Balance on a flat floor does not transfer especially well to a rocky trail, because a trail is asking for constant small corrections rather than steady holding.
Lay out a few folded towels, a cushion, and a rolled mat in a line. Walk across them slowly, pausing for a two-count on each. Five passes.
What you are training is the reaction - the ankle’s ability to make small rapid corrections without your whole body having to compensate. This happens below conscious control and it responds well to exposure.
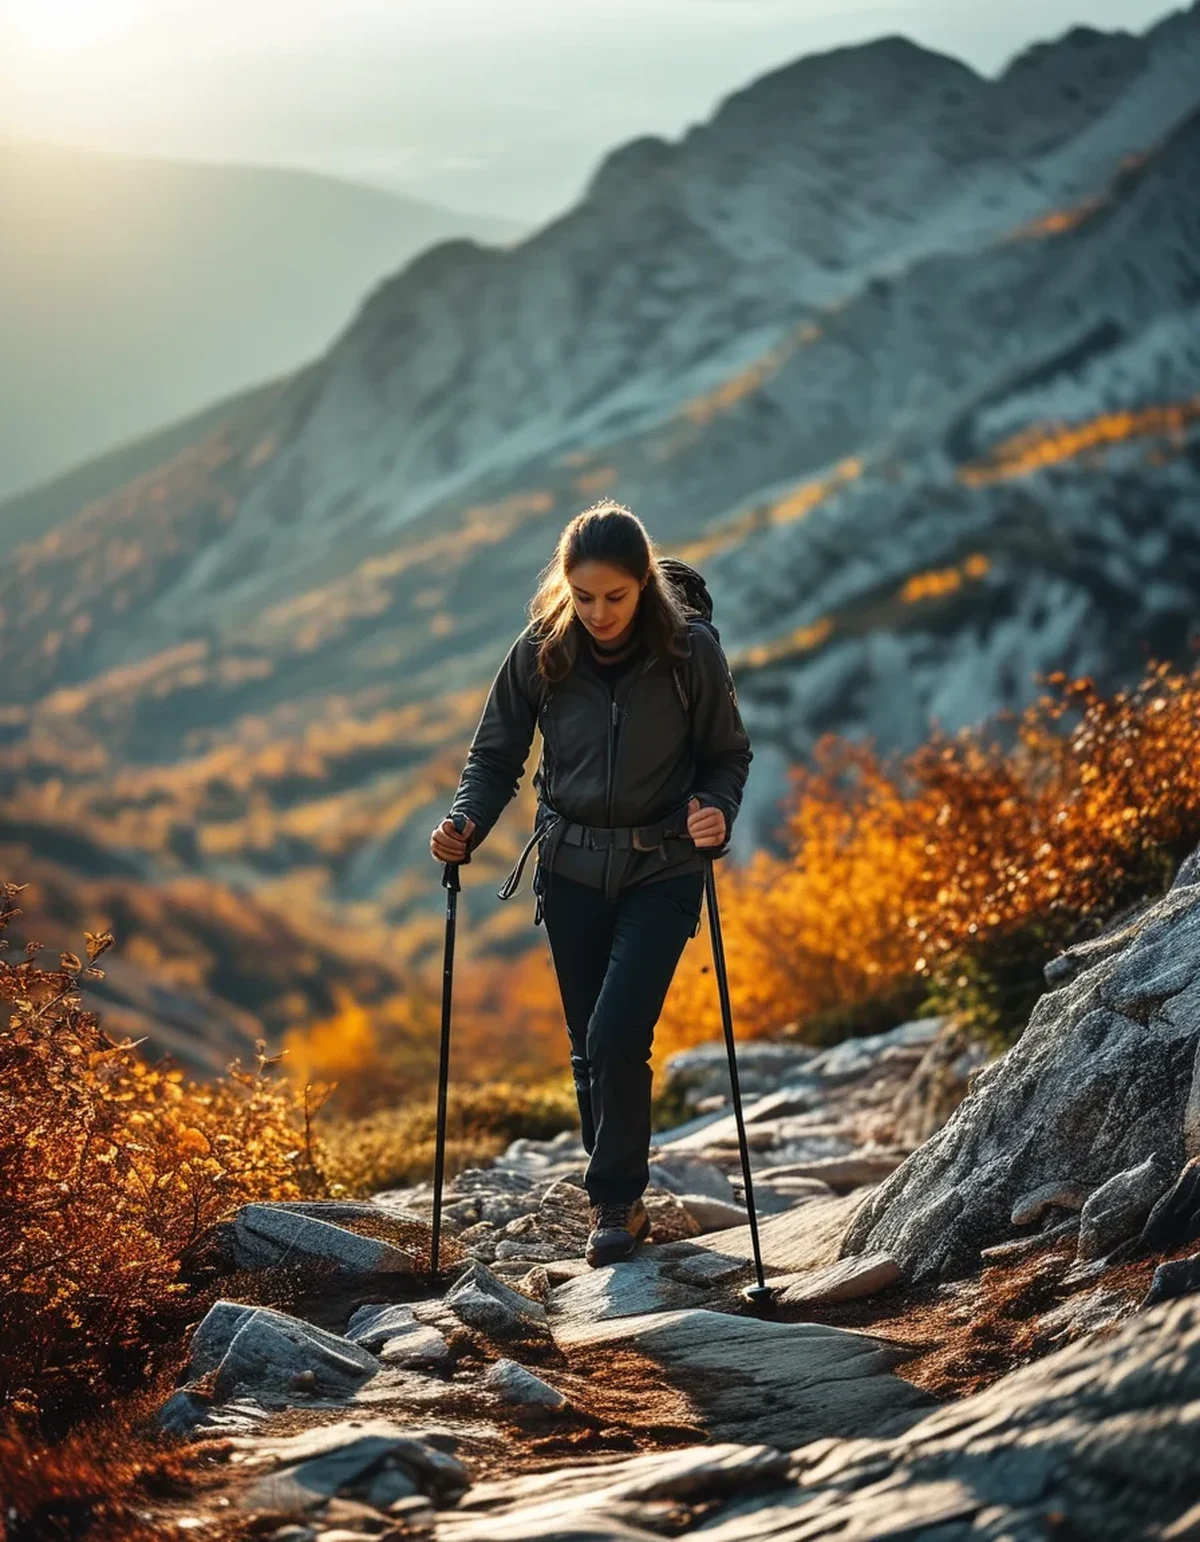
Outdoors, the direct version is even better: walk on grass, gravel, or a woodchip path rather than pavement for part of your usual walk. Ten minutes a week on genuinely uneven ground does more for trail confidence than any indoor drill, and late summer is the easiest time of year to find it.
Drill 5: Fatigued foot placement
Balance failures on a hike almost never happen in the first hour. They happen when you are tired, which means fresh practice only trains half the problem.
Do twenty bodyweight squats or a minute of step-ups first. Then, immediately, do thirty seconds of single-leg stance on each leg.
It will feel dramatically harder, and that is the point. Fatigue degrades proprioception and reaction time, and the last descending mile is where ankle rolls and falls actually occur.
A practical trail habit that pairs with this: on a long descent, take a deliberate two-minute stop at the halfway point rather than pushing to the bottom. Balance and foot placement recover surprisingly quickly with a short rest, and the last stretch is safer for it.
Do not do this drill next to anything you could fall against. Clear space, and a wall within reach for a fingertip if needed.
FAQ: Downhill Hiking Questions, Answered
Are hiking poles cheating?
No, and they measurably reduce loading through the knees on descents. They also give you two extra points of contact on unstable ground. The main skill is planting them ahead and below you rather than beside you, so they take weight before your foot lands.
Why are my quads so sore after a downhill hike?
Because eccentric loading - lengthening under tension - produces more muscle damage and more delayed soreness than concentric work does. It is normal, it peaks around 24 to 48 hours, and it improves substantially with a few weeks of the step-down drill above.
Should I take smaller steps going down?
Generally yes. Shorter steps keep your centre of mass closer to your feet, reduce the impact of each landing, and give you more chances to correct. Long reaching steps on a descent are where most slips start.
My knees hurt on descents. Is training safe?
Mild ache that settles within a day is usually a strength and control issue that improves with the drills above. Sharp pain, swelling, giving way, or pain that lingers for days warrants a proper assessment before adding load. This is general information, not medical advice.
TL;DR:
- Descending needs eccentric control and rapid ankle correction. Flat walking trains neither.
- Slow step-downs with a four-count lowering are the most transferable single drill.
- Add a head turn to single-leg stance - it forces the foot and ankle to work rather than the eyes.
- Lateral step-downs train the hip control that stops the knee falling inward.
- Walk on genuinely uneven ground weekly. Ten minutes beats any indoor substitute.
- Practice balance when tired, because that is when trail falls actually happen.
Twelve minutes, three times a week, and four weeks later the descent stops being the part of the hike you dread.
Keep Reading
This article is for general informational purposes only and is not medical advice. Always consult a qualified health professional for guidance specific to you.